In this guide, you will download (or clone) a copy of the course files from AzDevOps onto your computer using the Visual Studio Code editor (VSC).
Topics in this guide
Clone the AzDevOps repo
Complete the following steps to clone the project’s repository (repo) from AzDevOps using VSC.
-
Open a web browser, go to the AzDevOps website at https://dev.azure.com, and sign in.
-
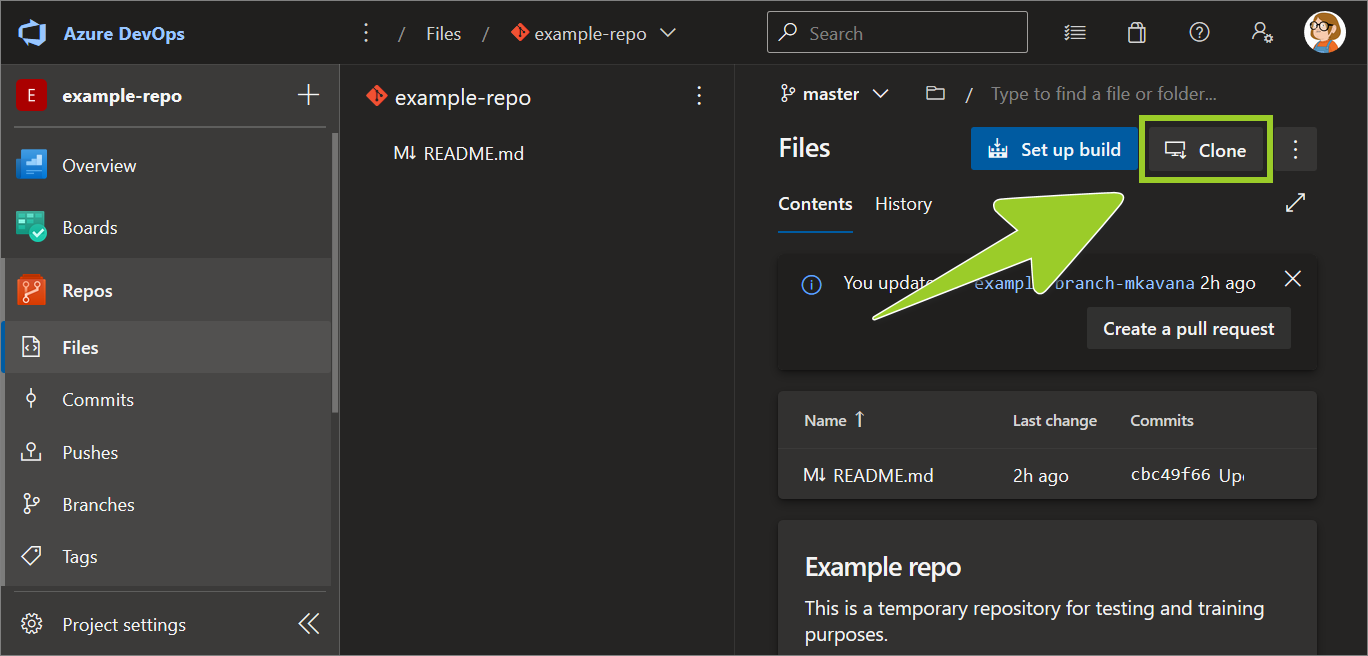
On the Projects tab, locate the project repo you want to clone, and select the Repos icon.
For example, in the following image, the Repos icon for the project example-repo is selected.

-
Choose the Clone icon.
-
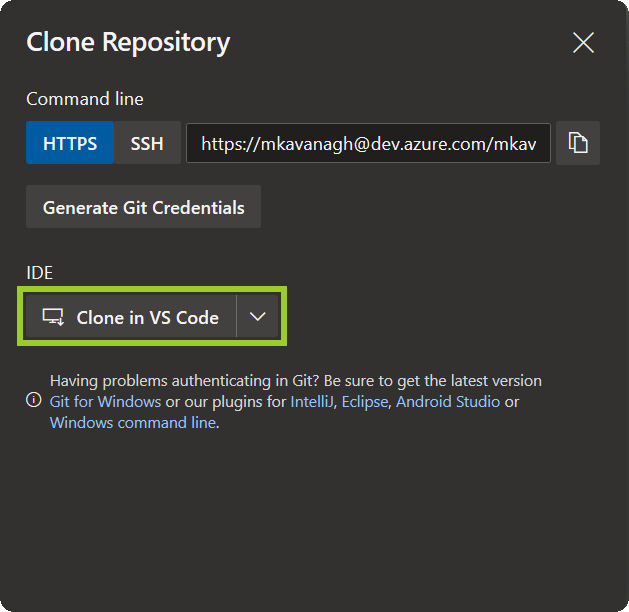
In the Clone Repository pane, set the IDE dropdown to Clone in VS Code.
-
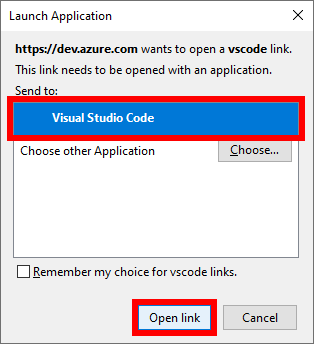
In the Launch Application window, set the Send to option to Visual Studio Code, and then choose Open link.
-
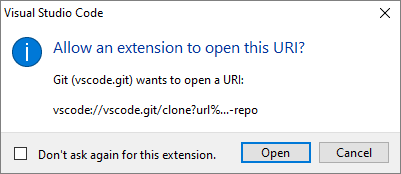
When the Visual Studio Code editor (VSC) opens, choose Open if you’re asked to Allow an Extension to open this URI.
-
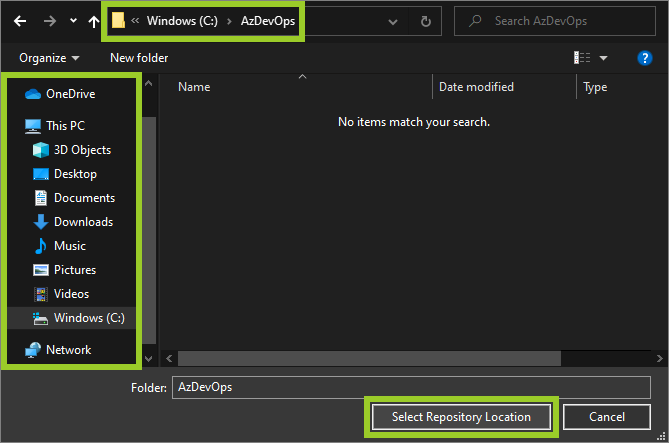
In the VSC file explorer, select a location on your computer for storing the cloned repo, and then choose Select Repository Location.
For example, in the following image, the repo will be cloned into the folder C:\Windows\AzDevOps.
-
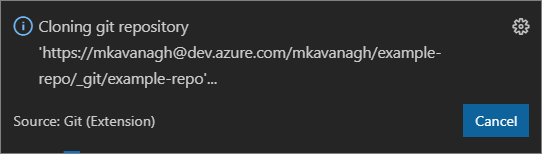
In VSC, wait for the Cloning git repository progress indicator to complete (lower right side).
-
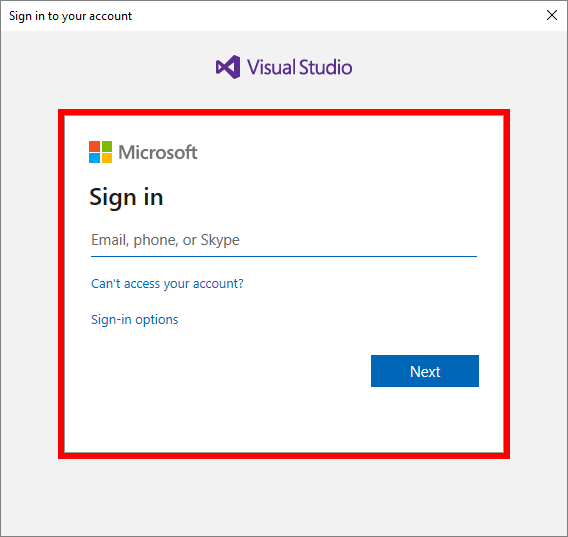
If prompted, sign into AzDevOps/ Visual Studio.
-
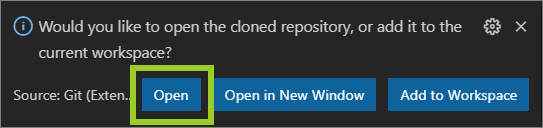
In VSC, choose Open if asked Would you like to open the cloned repository, or add it…
Note: In VSC, you can open a cloned repo from the top menu by using File > Open folder, and selecting the folder with the cloned repo.
-
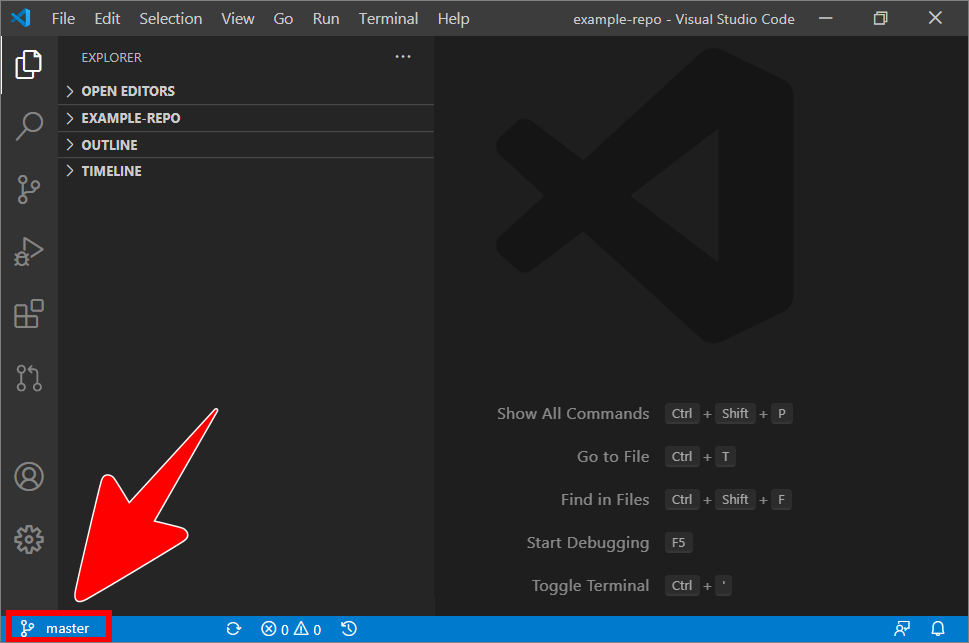
The branch icon in the VSC status bar, at the bottom of the editor, indicates the name of branch that VSC is currently switched to.
For example, in the following image, the branch icon in the VSC status bar indicates that VSC is currently switched to the branch named master.
Note: To switch VSC to another branch, refer to the guide Switch branches.
-
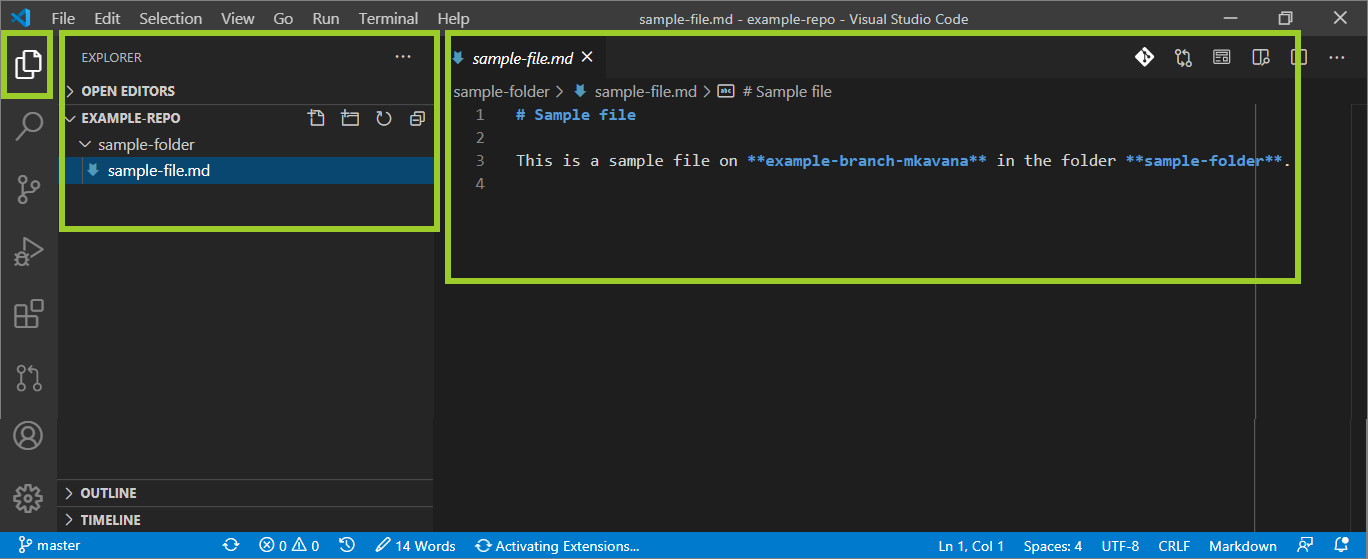
Select the VSC Explorer icon, and use the VSC Explorer to choose a markdown file to open in the VSC Editor tab.
For example, in the following image, the markdown file sample-file .md is open in the VSC Editor tab (right side), and VSC Explorer shows that the file is on the filepath ~/example-repo/sample-folder/ (left side).
You’ve cloned the project’s AzDevOps repo successfully.
Appendices
Check the following supplementary Appendices for more details and context.