Fork a repository : GitHub
This guide describes how to fork a GitHub repository (repo).
Note: As an example, this guide forks the GitHub repo MicrosoftDocs/learn-pr from https://github.com/MicrosoftDocs/learn-pr/. Apply this guide to any suitable private GitHub repo by adapting the steps accordingly.
Prerequisites
Before you proceed complete the following:
Topics in this guide
- About forking and cloning a GitHub repo
- Configure your GitHub user account
- Fork a GitHub repo
- Modify a forked file in a web browser on GitHub
- Modify a forked file in VSC
- Create a pull request from your forked repo on GitHub
Video
The following video covers the contents of this guide. Watch the video (optional), read this guide or both. If you cannot access the video, contact your project manager.
About forking and cloning a GitHub repo
The following describes why it’s necessary to fork the GitHub repo MicrosoftDocs/learn-pr, and distinguishes forking from cloning.
Microsoft protect the contents of the GitHub repo MicrosoftDocs/learn-pr. Only authorized GitHub users can modify files in MicrosoftDocs/learn-pr directly.
To make your contributions you must create a copy of MicrosoftDocs/learn-pr called a fork. Forking will copy the contents of MicrosoftDocs/learn-pr into your GitHub user account. You are the owner/ Admin of your GitHub account. When you fork MicrosoftDocs/learn-pr into your GitHub account, you’ll have full permission to modify the files in your fork. After you create your fork, you can access your fork in a web browser from the following URL:
https:// github.com/ your GitHub username /learn-pr.
Note: If you download (clone) MicrosoftDocs/learn-pr directly onto your computer, without first making a fork, your clone will inherit Microsoft’s user access restrictions from MicrosoftDocs/learn-pr. If your clone inherits Microsoft’s user access restrictions, you won’t have permission to modify the files in your clone. This is why you must first create a fork in your GitHub user account.
After you Fork a GitHub repo, you can Modify a forked file in a web browser on GitHub. If you prefer to modify files using Visual Studio Code (VSC), clone your fork onto your computer, and then Modify a forked file in VSC. Cloning your fork ensures you’ll have permission to modify the files in VSC.
The differences between forks and clones
Forks and clones are essentially copies of a repo, with the following basic differences (in the context of the Waypoint 2022 DevRel project).
- Cloning. Copies the GitHub repo onto a user’s computer. A clone will inherit any file access restrictions from its parent.
- Forking. Copies the GitHub repo into the user’s GitHub account. The user can then clone their fork without worrying about restricted access to protected files (because the user owns their fork).
After you’ve modified a file in your fork you must ask the Microsoft Docs team to merge your file changes from your fork into MicrosoftDocs/learn-pr. To ask the Microsoft Docs team to merge your file changes, Create a pull request from your forked repo on GitHub.
Benefits to creating your own fork
Creating a fork is a standard practice that’s required for contributing to Microsoft Docs. The fork you create gives you the following benefits:
-
Full read/ write permissions for the files in your fork. You can’t modify files in MicrosoftDocs/learn-pr directly. When you create a fork, you have full read/ write permissions for the files in your fork instead. Then, you create a pull request to ask the Microsoft Docs team to accept the file changes from your fork into MicrosoftDocs/learn-pr
-
Full control over any pull requests that you initiate from your fork into MicrosoftDocs/learn-pr. Having full control over your pull requests means that you can manage any subsequent file changes you commit to your fork. Your commits can be “rolled into” or removed from your open pull request. For example, you can modify files based on feedback, validation test results, and Microsoft reviews.
-
Individualized history of the file changes you commit. Having access to a history of your file changes means that you can manage your own commits more efficiently. This approach also distinguishes your particular contributions to MicrosoftDocs/learn-pr from those of other contributors.
Configure your GitHub user account
Complete the following steps to configure your GitHub user account for contributing to the repo MicrosoftDocs/learn-pr.
-
Link your GitHub user account to your “v dash” (v-) account.
Note: For help linking your v- and GitHub accounts, refer to GitHub account setup.
If you’ve more than one email address associated with your Git user credentials, you can configure Git with multiple user credentials by referring to Stack Overflow: Can I specify multiple users for myself in .gitconfig?.
-
Sign into GitHub, and then go to the GitHub repo MicrosoftDocs/learn-pr at https://github.com/MicrosoftDocs/learn-pr/.
The contents of the GitHub repo MicrosoftDocs/learn-pr should now be accessible from your web browser.
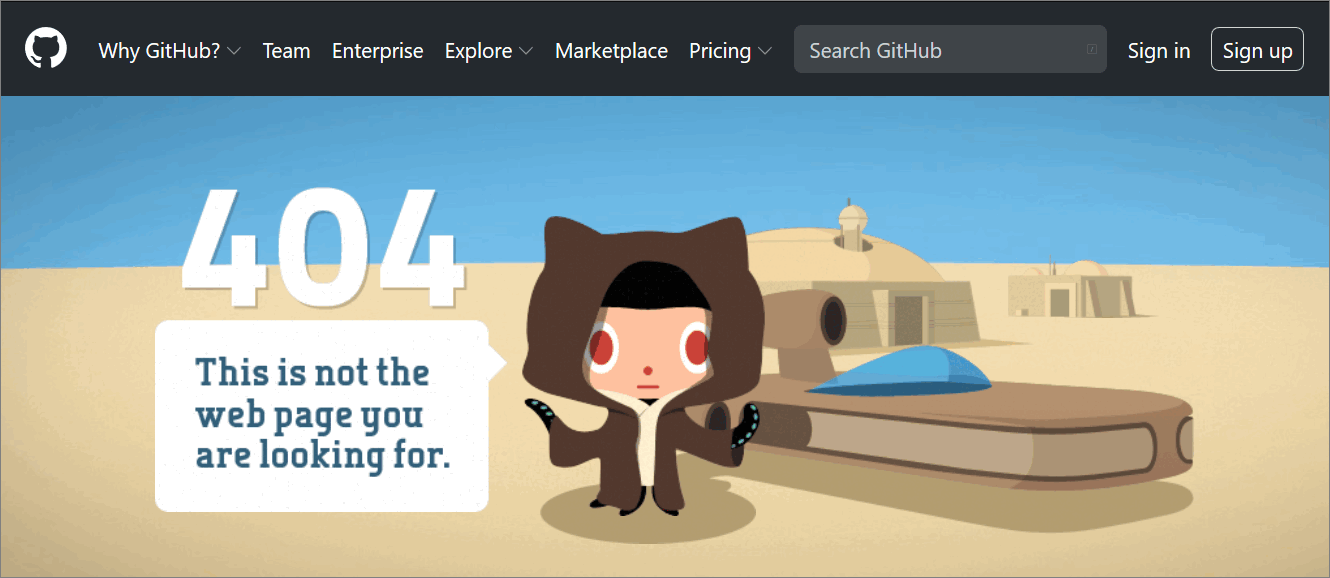
Note: If your browser returns the following GitHub 404 error web page, your GitHub and v- accounts cannot access the repo. Verify that you’re signed into GitHub with your linked v- account. If you still can’t access MicrosoftDocs/learn-pr, contact your project manager for help.
-
Join the MicrosoftDocs organization on GitHub, and then enable two-factor authentication.
Note: For more help with configuring your GitHub account for contributing to Microsoft Docs, refer to GitHub account setup.
You’ve configured your GitHub user account for contributing to Microsoft Docs successfully.
Fork a GitHub repo
Complete the following steps to fork a GitHub repo.
-
Open a web browser, go to GitHub.com, and sign in.
-
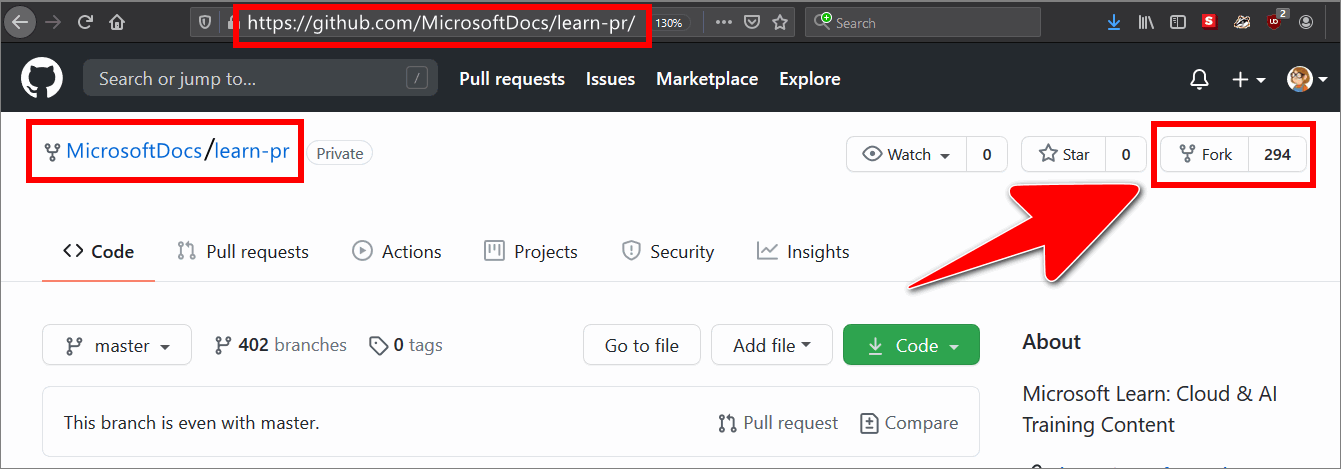
On GitHub, go to the repo MicrosoftDocs/learn-pr at https://github.com/MicrosoftDocs/learn-pr/, and select Fork (top right side).
-
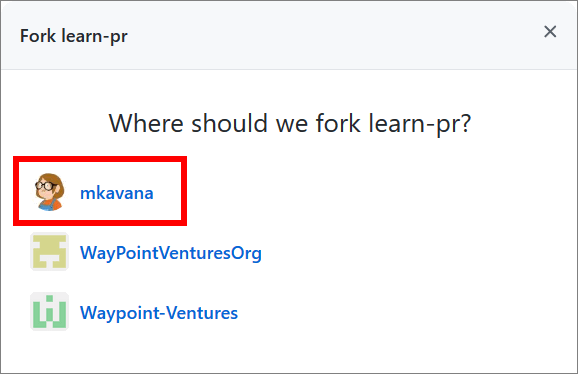
Choose your GitHub username when asked Where should we fork learn-pr?
For example, in the following image, the GitHub account with the username mkavana will store the forked repo learn-pr.
-
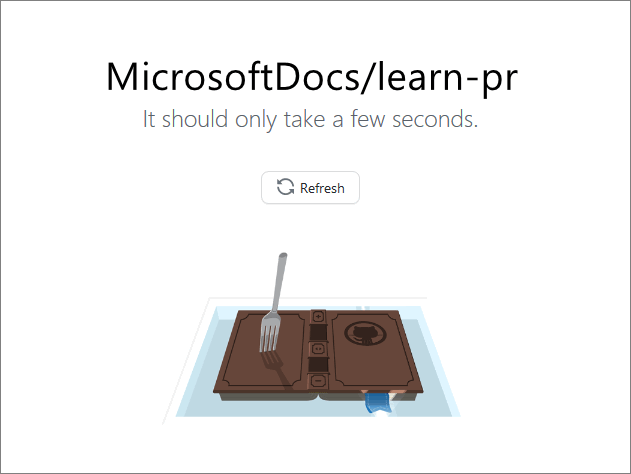
Wait for the forking process to complete.
-
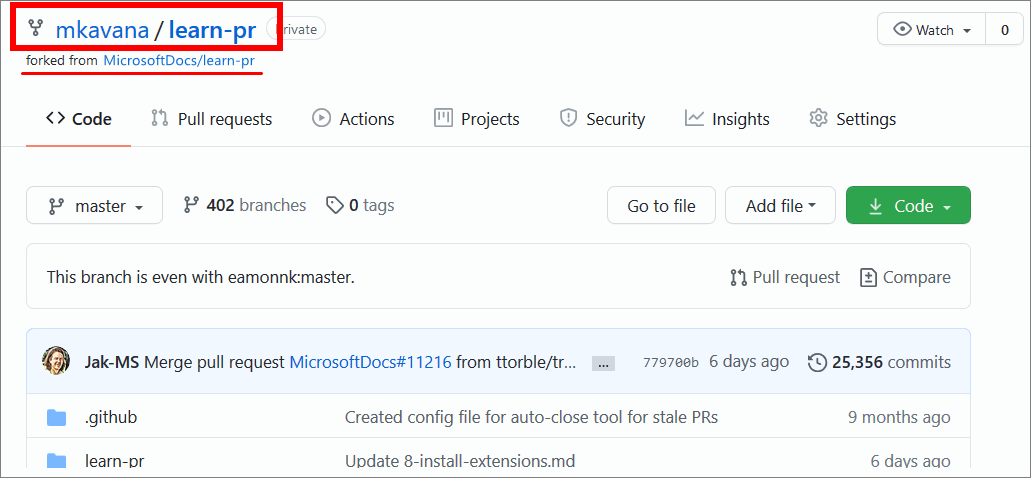
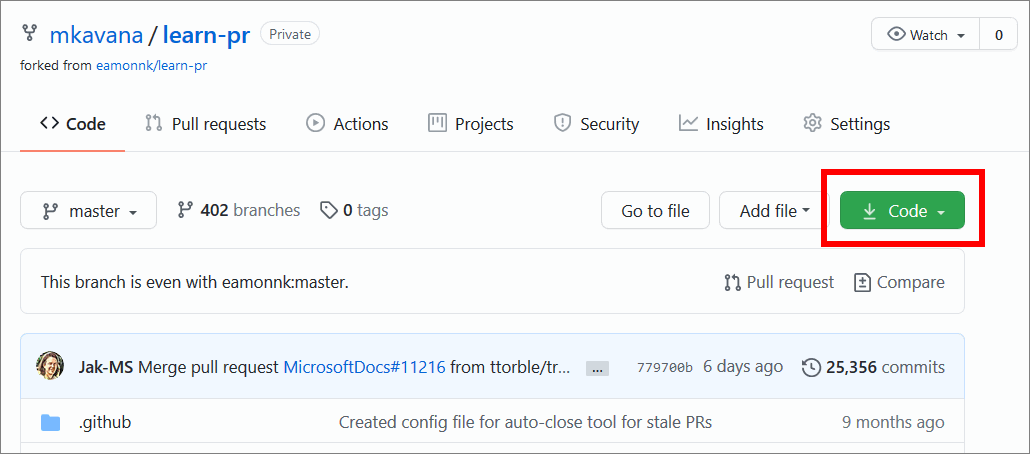
When the forking process completes, your newly forked repo is stored in your GitHub account.
For example, in the following image, the forked repo learn-pr is stored in the GitHub user account mkavana.
You’ve forked a GitHub repo successfully.
Note: You can open the files in your forked repo, and follow standard practice to make file changes, save, commit, and push files, and open pull requests. The remaining topics in this guide describe following standard practice to Edit a forked file in a web browser on GitHub, Edit a forked file in VSC, and Create a pull request from a forked repo on GitHub.
Modify a forked file in a web browser on GitHub
Complete the following steps to use the GitHub Editor (in a web browser) to modify a file in a forked repo.
-
Open a web browser, go to GitHub.com, and sign in.
-
On GitHub, go to your forked repo at
https://github.com/<your GitHub username>/learn-pr/. -
Use the dropdown to switch to the branch with a file you want to edit.
For example, in the following image, the branch NEW-intro-to-azure is selected.
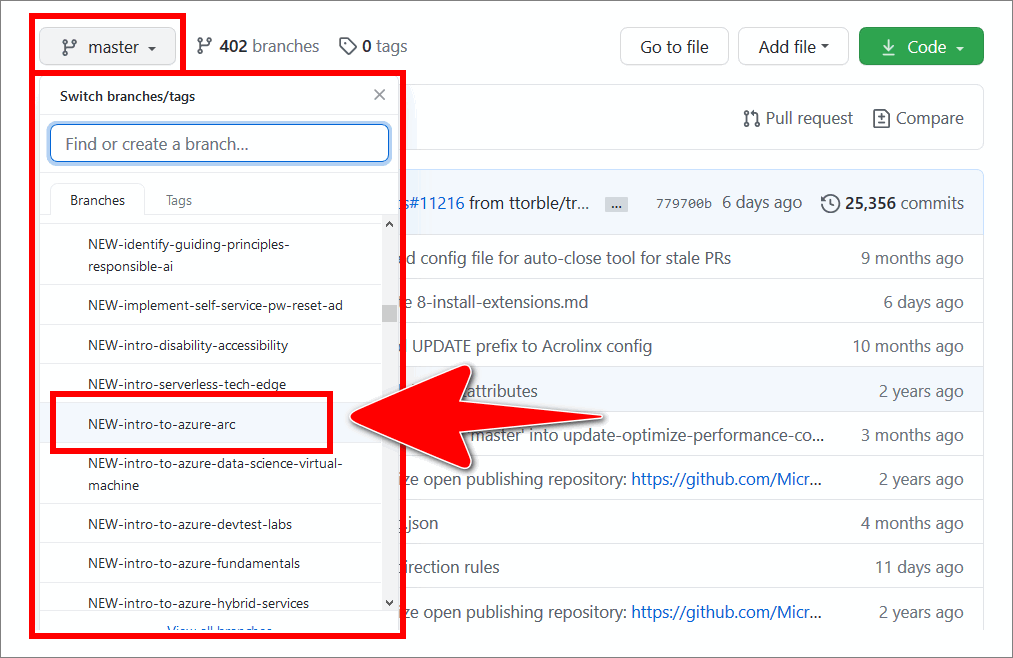
Note: The repo contains many branches, files and folders; ensure you select the correct branch.
-
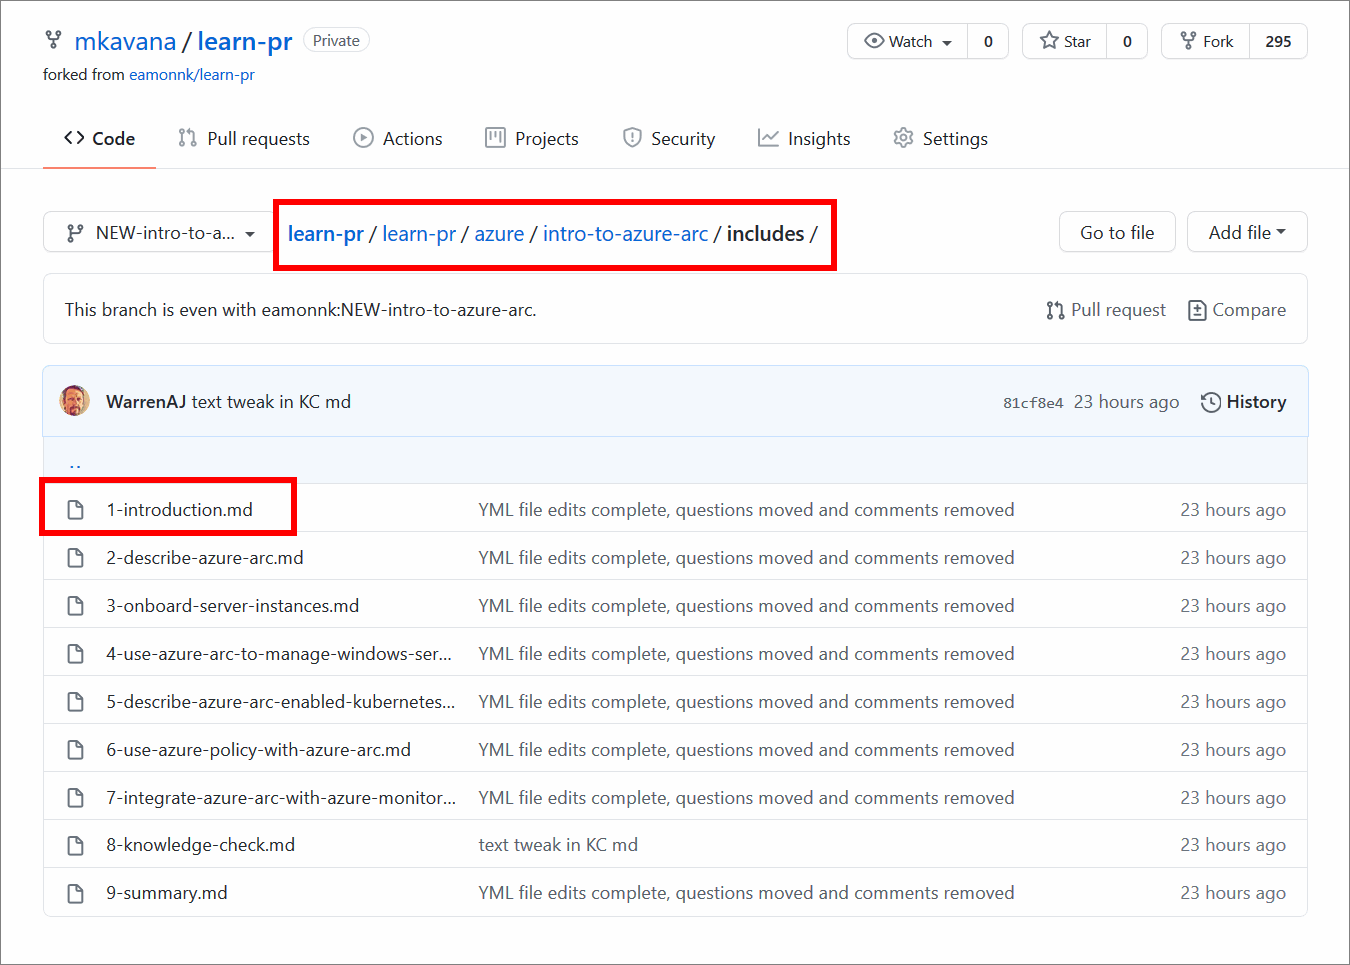
Select a file to edit.
For example, in the following image, the markdown file 1.introduction .md is selected on the filepath learn-pr/learn-pr/azure/intro-to-azure-arc/includes/.
-
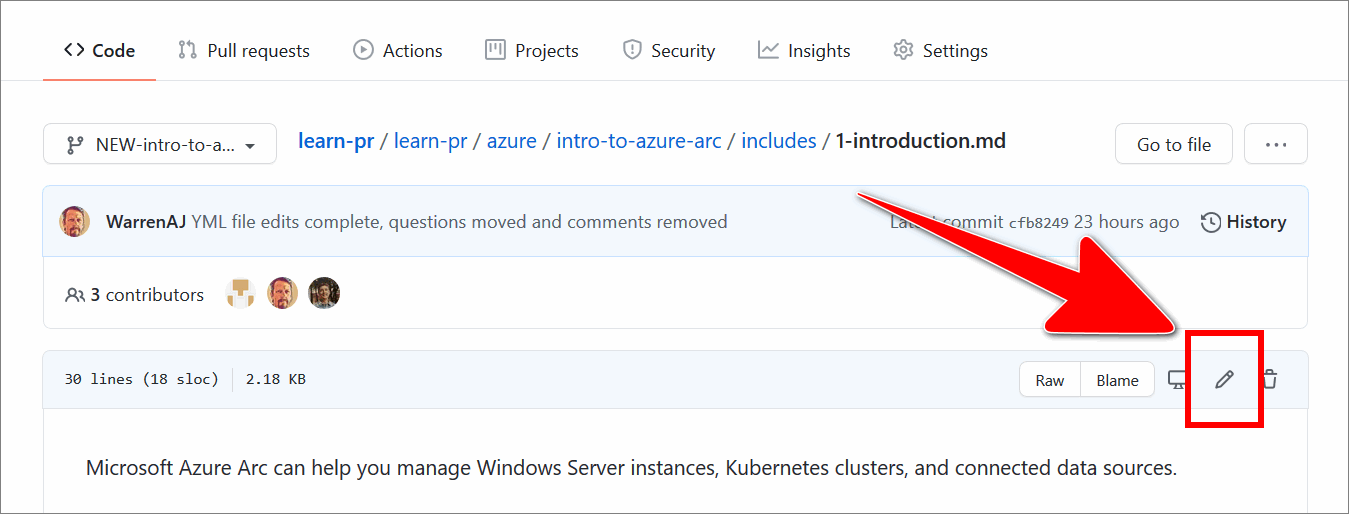
Choose the Edit this file icon.
-
In the Edit file tab, apply your changes.
For example, in the following image, the comment
<!-- example comment -->is added on line 5 in the markdown file 1.introduction .md.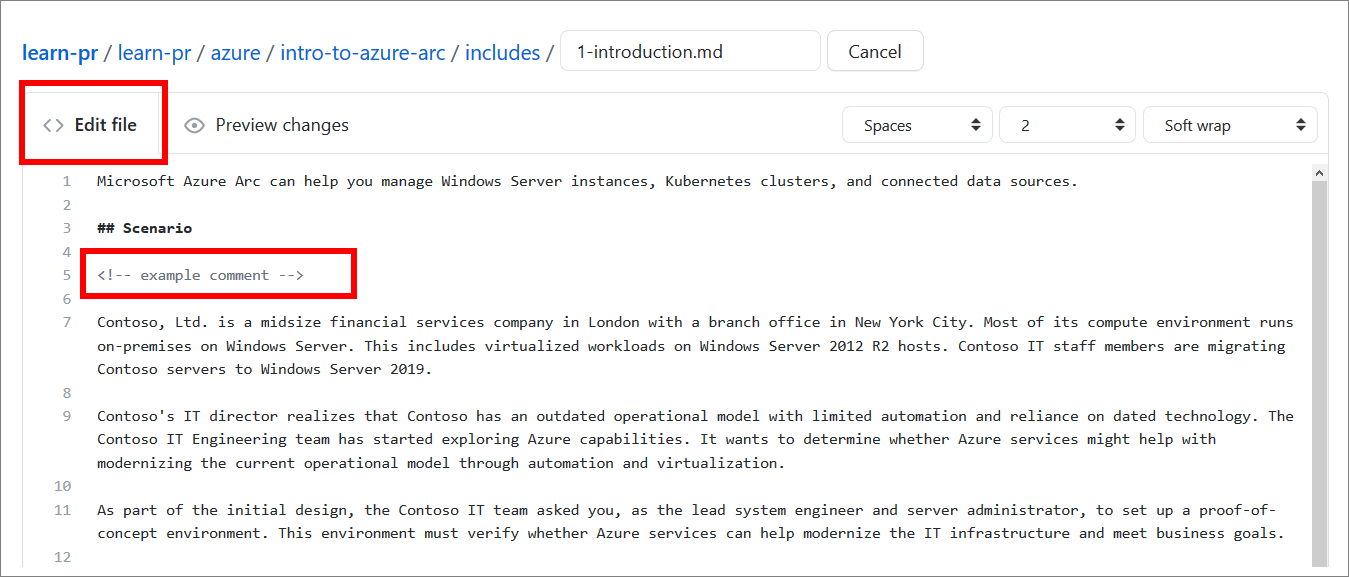
Note: To preview your changes, select the Preview tab.
-
When you’ve finished editing, scroll down to the Commit changes section, and enter the following information into the form:
- Add a title for your changes.
- Enter a brief description of your changes.
- Set the checkbox to Commit directly to the
<branch-name>branch. - Select Commit changes.
Note: Depending on the type of modifications you’re making, you might need to commit your file changes to a new branch on GitHub. If you’re unsure, ask your project manager for help. To commit your file changes to a new branch, set the checkbox to Create a new branch for this commit and start a pull request.

You’ve used the GitHub Editor to edit a file in a forked repo successfully.
Note: Complete the steps to Create a pull request from a forked repo on GitHub.
Modify a forked file in VSC
If you prefer to make file changes/ modifications in VSC, complete the following steps to download (clone) a forked repo onto your computer, and then edit a file in VSC.
Note: The cloning process described in the remaining steps is the standard process for cloning a GitHub repo, as recommended in the guide Download course files (clone repo).
-
Open a web browser, go to GitHub.com, and sign in.
-
On GitHub, go to your forked repo at
https://github.com/<your GitHub username>/learn-pr/. -
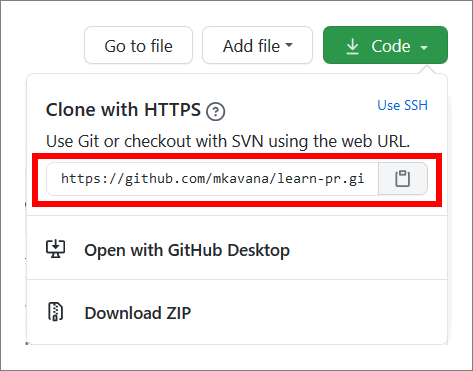
Select Code, and copy the URL.
-
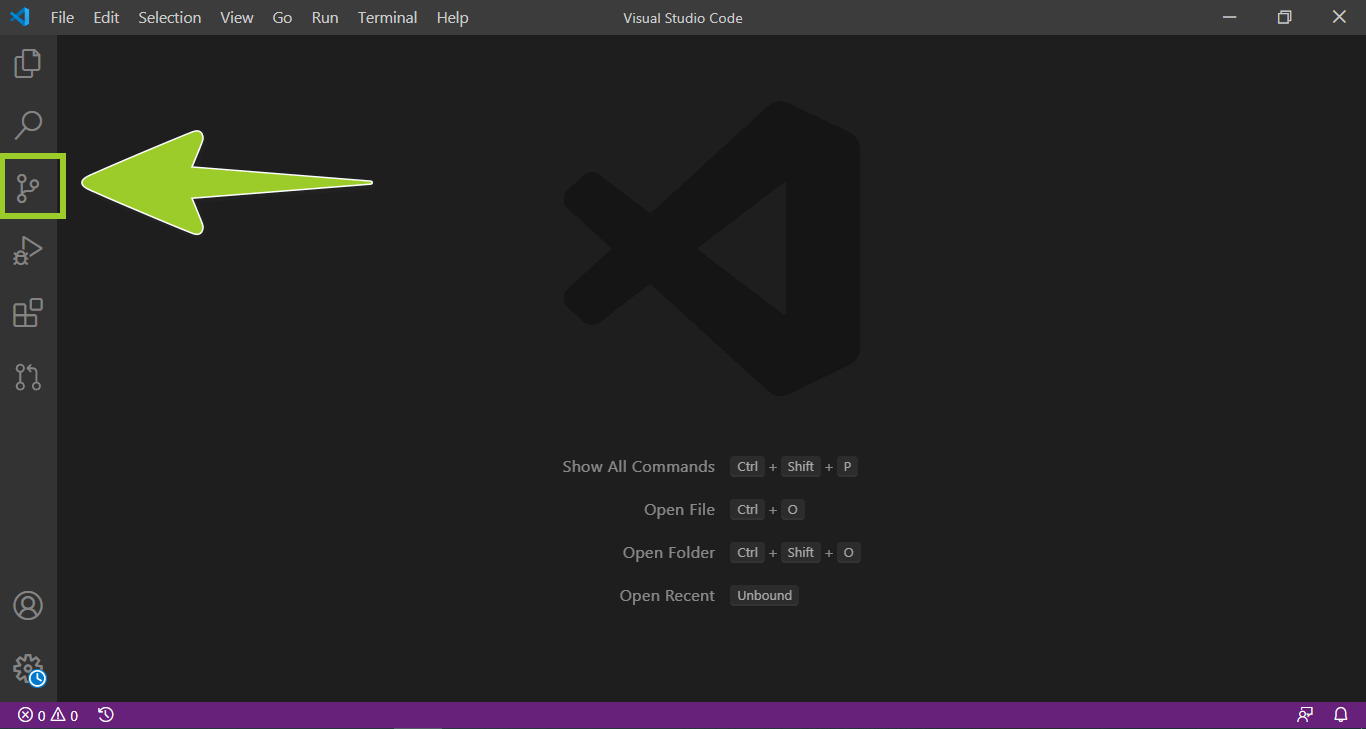
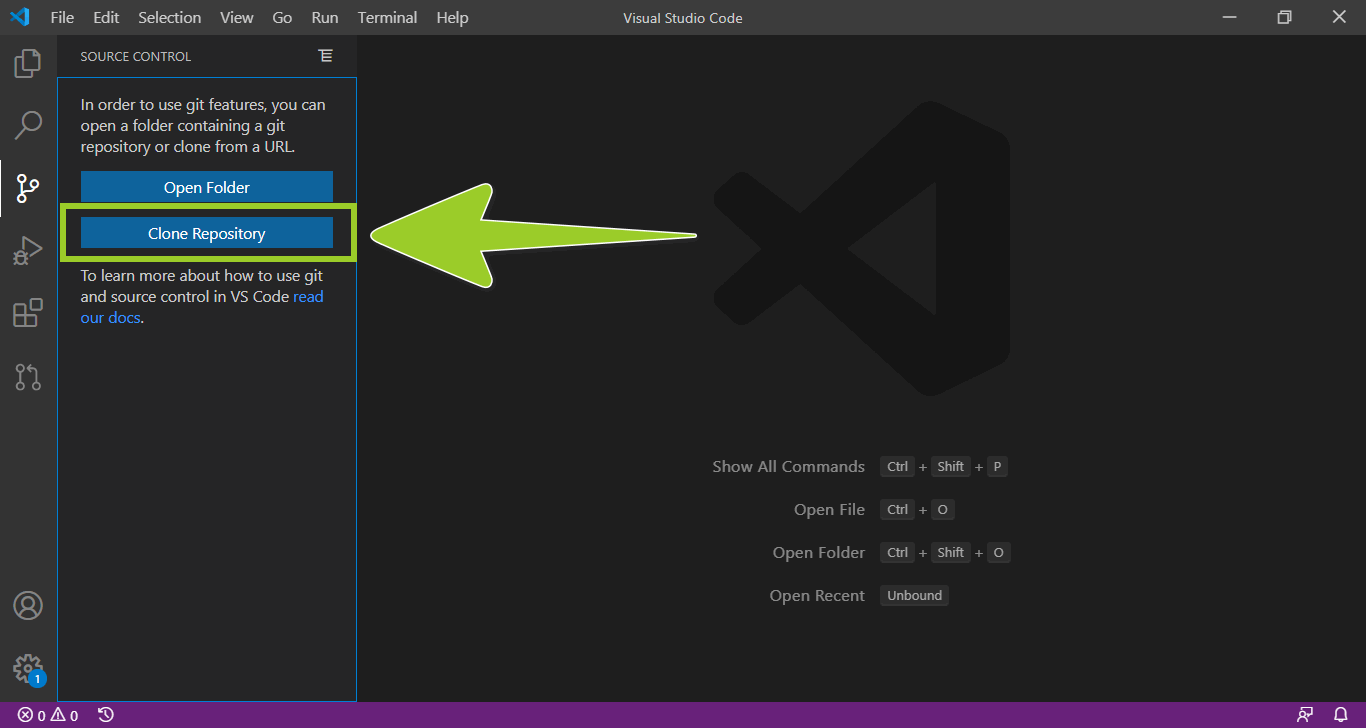
Open VSC, and choose the Source control icon (left sidebar).
-
Select Clone Repository. In the Clone from GitHub pane, paste the URL you copied previously from Step 6, and then choose ENTER.

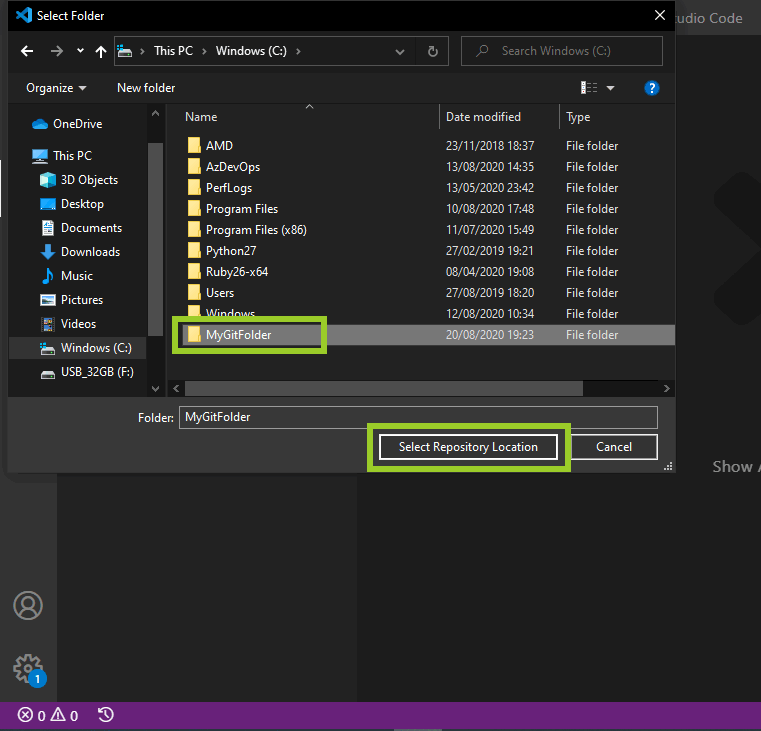
-
Select (or create) a folder on your computer for storing the repo you’re cloning, then choose Select Repository Location.
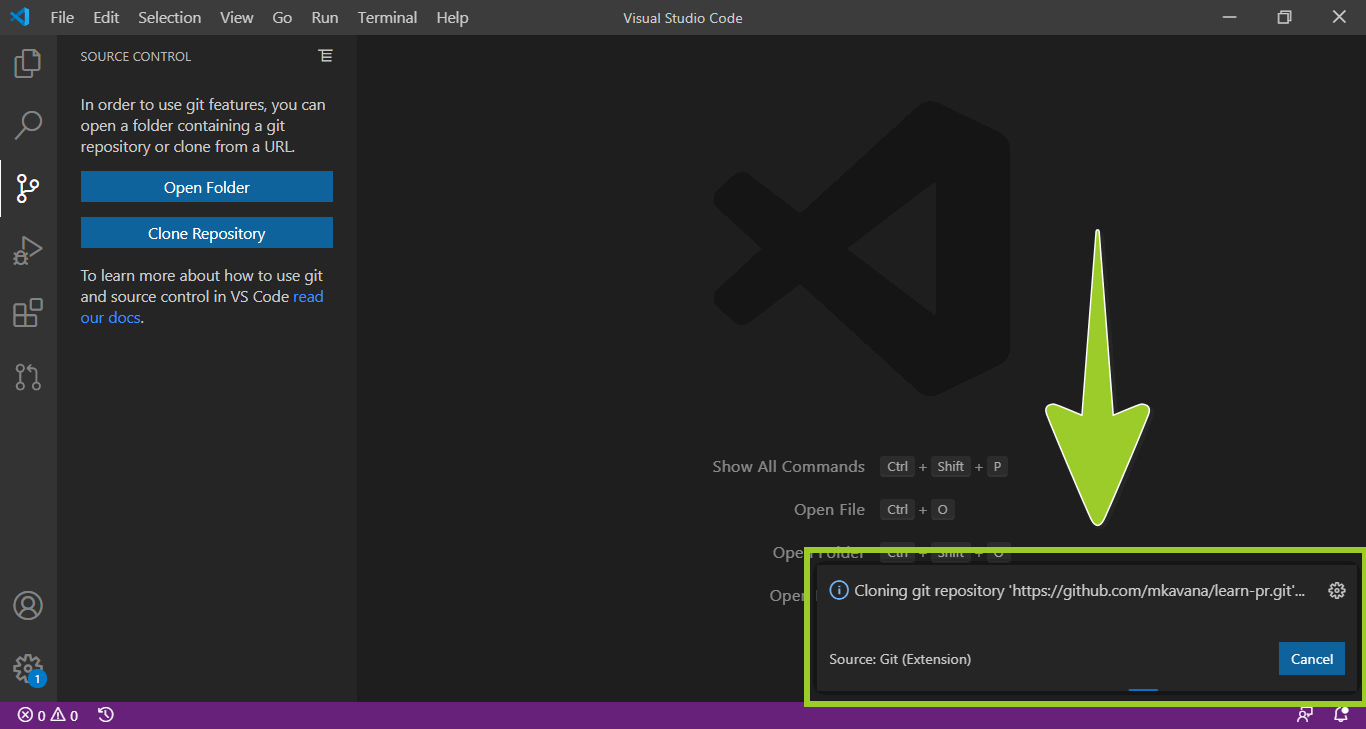
-
Wait for the cloning process to complete.
Note: The repo is large, and might take 30 minutes to clone (depending on your connection speed).
To resolve common errors you might encounter when cloning a fork/ repo from GitHub, refer to Fix cloning errors
-
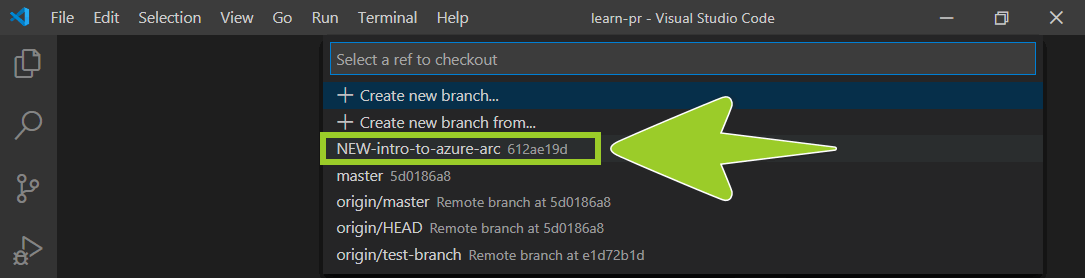
When the cloning process has completed, select the Branch icon from the VSC Status bar (bottom left side).
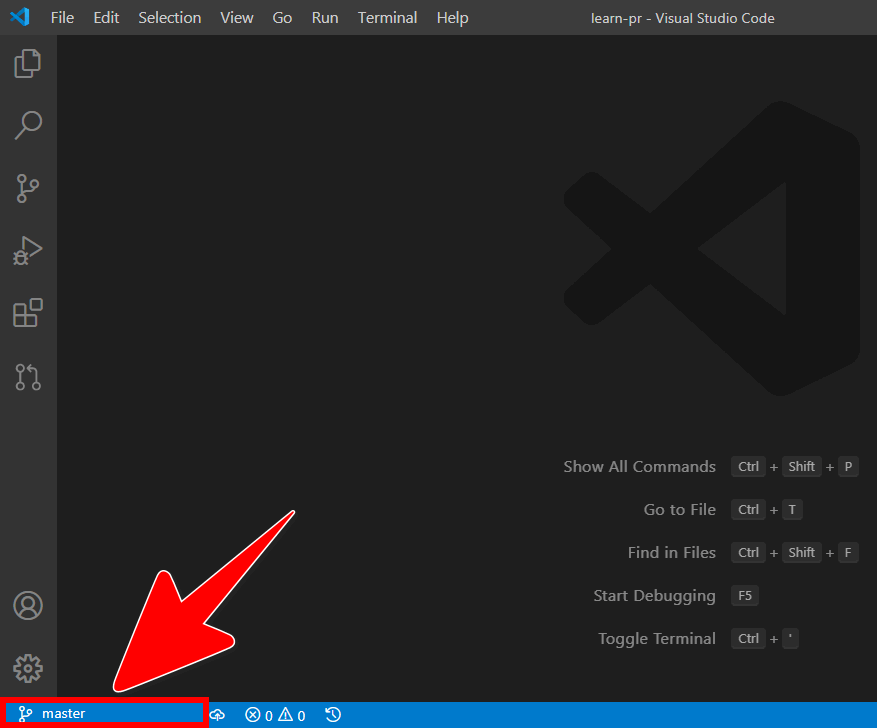
-
Choose the branch with the file you want to edit from Select a ref to checkout.
For example, in the following image, the branch NEW-intro-to-azure-arc is selected.
Note: Depending on the type of modifications you’re making, you might need to create a new branch for your file changes in VSC. If you’re unsure, ask your project manager for help.
-
Choose the VSC Explorer icon (top left sidebar), select a file to edit, and apply your file changes in a VSC Editor tab (right panel).
For example, in the following image, the markdown file 1.introduction .md is selected in VSC Explorer, on the filepath learn-pr/learn-pr/azure/intro-to-azure-arc/includes/. The comment
<!-- example comment -->is added on Line 5 in an Editor tab.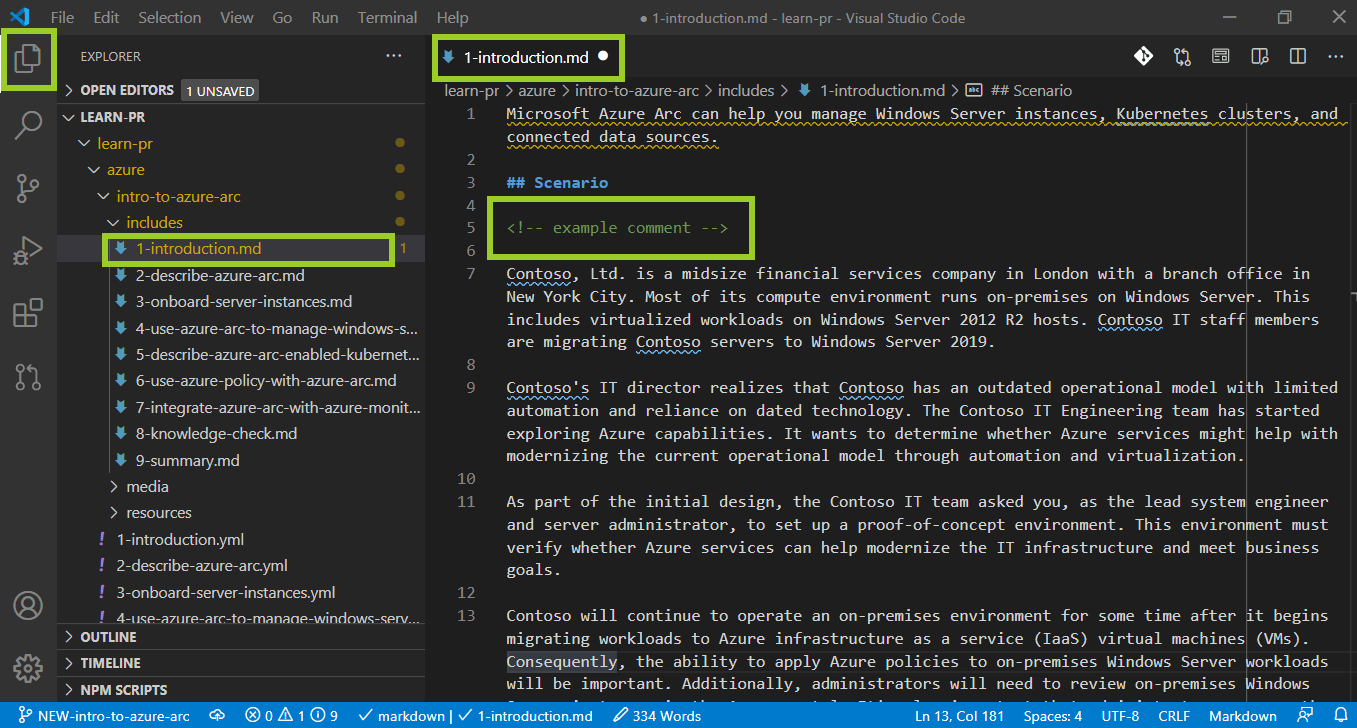
Note: To preview your changes, select the VSC Preview icon (top right side) or use the shortcut keys CTRL + SHIFT + V.
You’ve cloned a forked repo, and modified a forked file, with VSC successfully.
Note: Save, commit, and push your edited file(s) according to the standard process described in the guide Send (push) files. Then, follow the steps to Create a pull request from a forked repo on GitHub.
Create a pull request from your forked repo on GitHub
Complete the following steps to create a pull request (PR) from a forked repo on GitHub.
-
Open a web browser, go to GitHub.com, and sign in.
-
On GitHub, go to your forked repo at
https://github.com/<your GitHub username>/learn-pr/. -
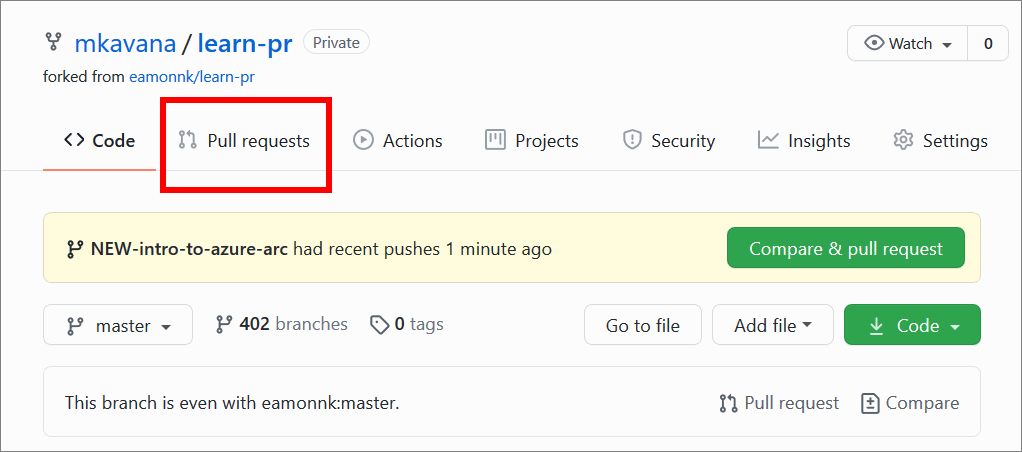
Select the Pull requests tab.
-
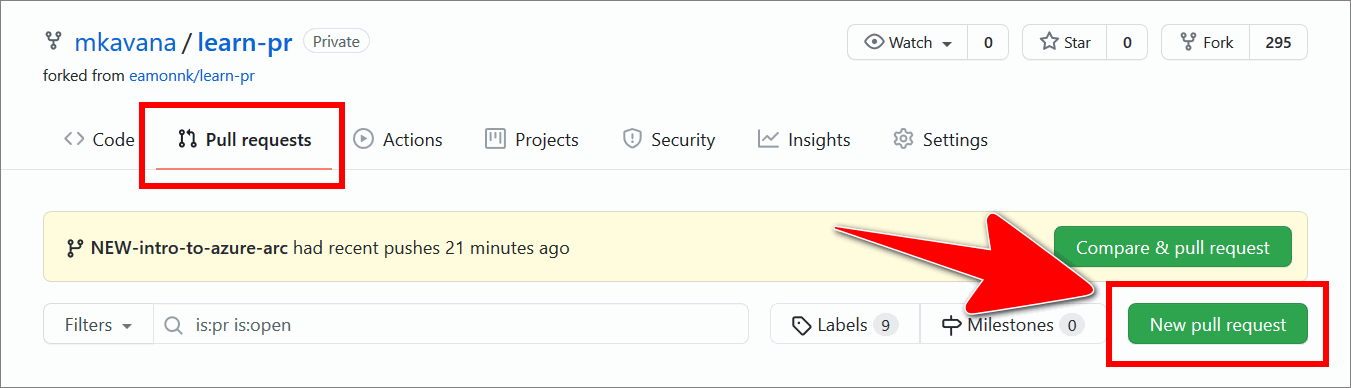
In the Pull requests tab, choose New pull request.
-
On the Comparing changes page, configure the dropdowns according to the following table.
Dropdown item Setting to choose base repository Select the GitHub repo to merge into (target). For example, MicrosoftDocs/learn-pr base Select the branch to merge into (target). For example, NEW-intro-to-azure-arc head repository Choose the repo to merge from (source). For example, your forked repo username/learn-pr base Select the branch to merge from (source). For example, the branch NEW-intro-to-azure-arc in your forked repo username/learn-pr 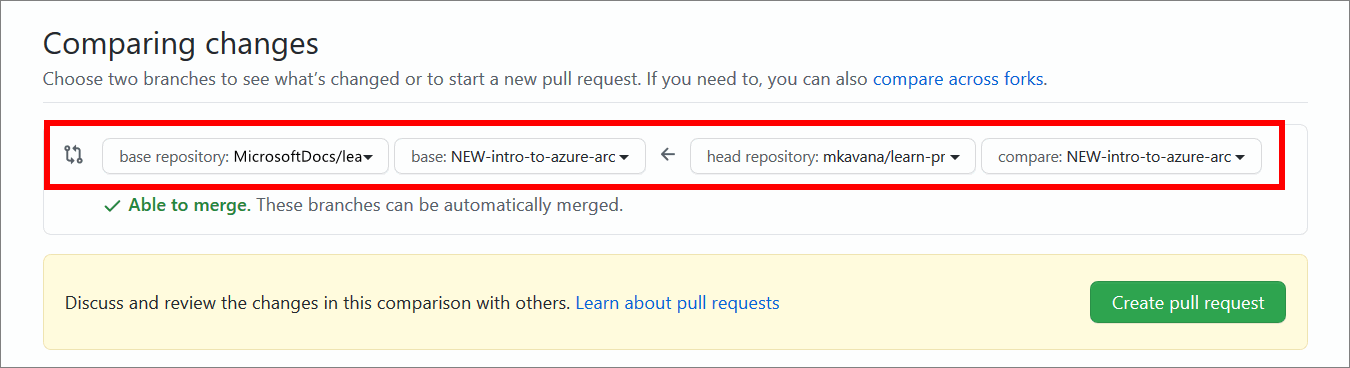
Note: If you created a new branch for your file changes, set the source branch to the new branch you created. If you’re unsure, ask your project manager for help.
-
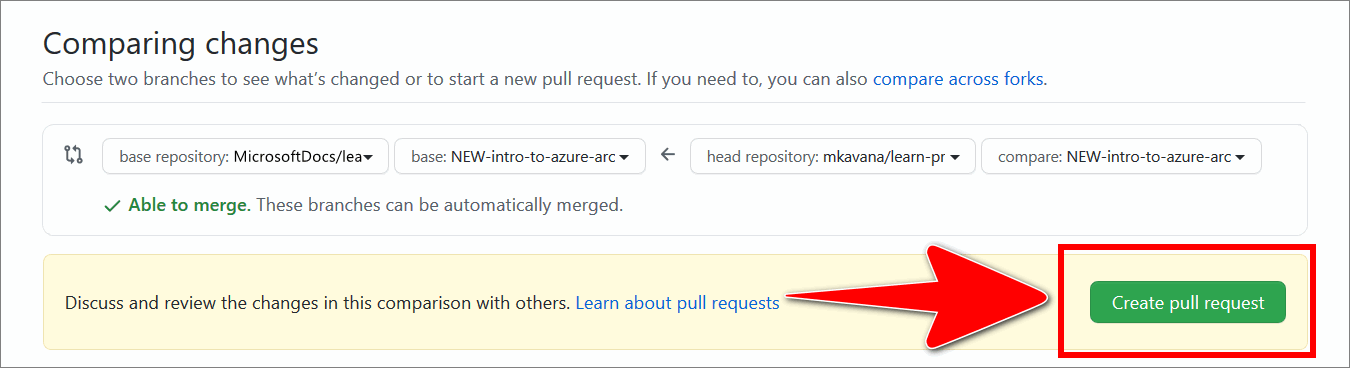
Choose Create pull request. If prompted, add a PR title and description.
You’ve created a pull request from a forked repo on GitHub successfully.
Note: Before accepting your commits and merging your PR, Microsoft may perform validation checks, and review your changes. For information about validation, refer to Validation.
GitHub will send you email notifications about the status of your PR, and you can view your PR’s status on GitHub from the Pull requests tab. For example, you may receive a notification to commit your changes on a new branch, rather than committing changes to an existing branch directly.
Resolve all issues to ensure your PR passes Microsoft’s validation checks and reviews.
While your PR remains open (and pending review), you can commit new file changes on the branch associated with your open PR. Subsequent file changes will be “rolled into” your open PR automatically. Each new commit you push will trigger a new build on the Microsoft Learn repo, and will initiate validation checks.
Appendices
Check the following supplementary Appendices for more details and context.