Create new branch in VSC
This guide describes using the Visual Studio Code (VSC) editor to create a new branch to work on.
Creating a new branch to work on allows you to view, create and edit markdown files and images without affecting the work of other contributors.
Prerequisites
Before you proceed complete the following:
Topics in this guide
Create a new Git branch in VSC
Complete the following steps to create a new Git branch using VSC.
-
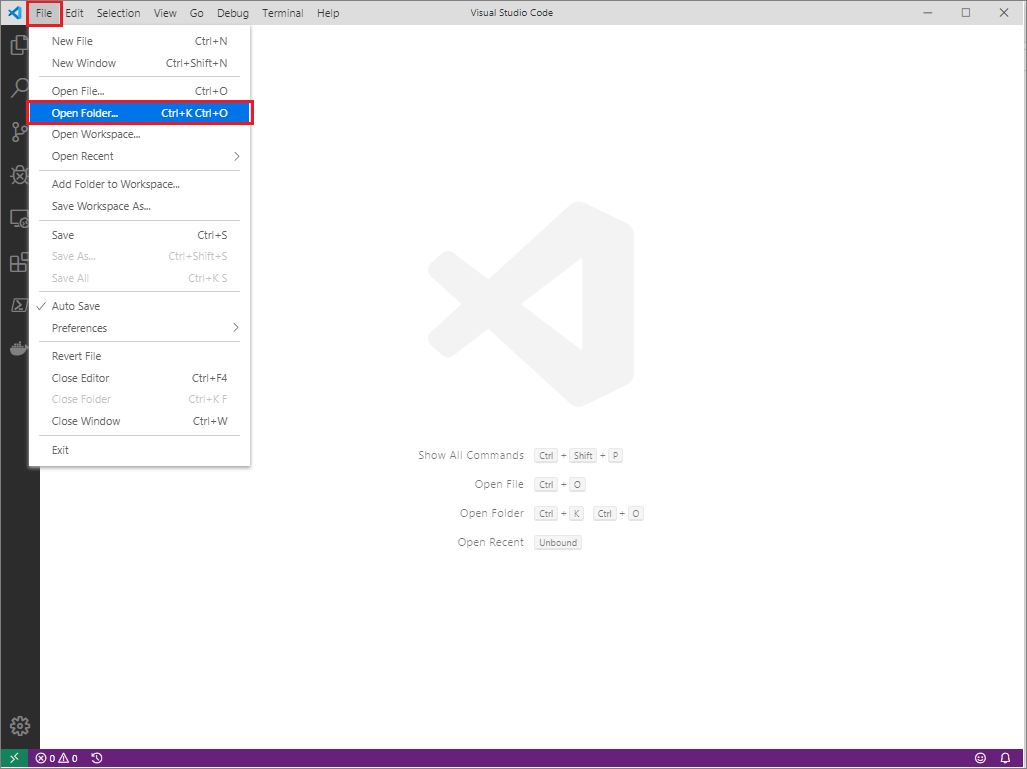
Open VSC and go to File > Open Folder.
-
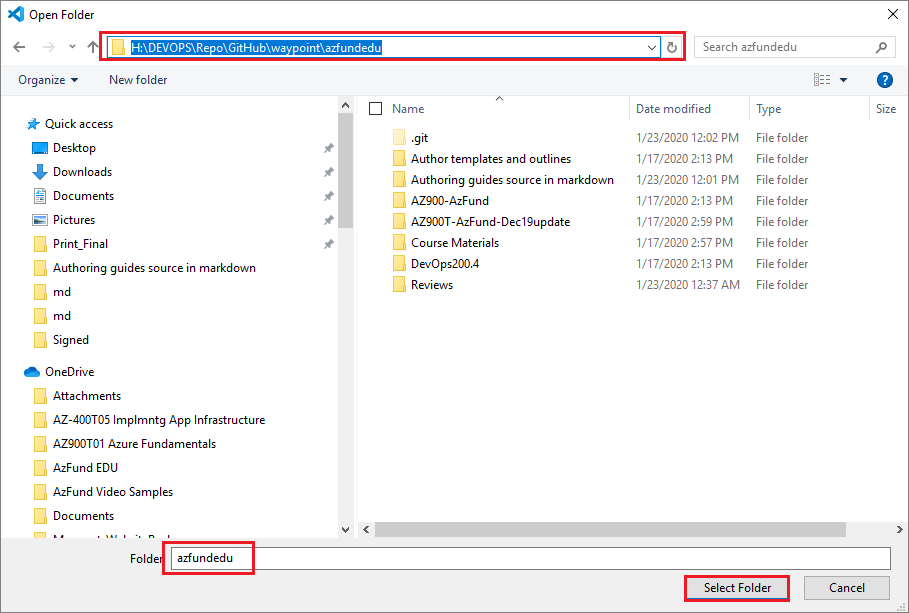
Go to where you cloned the project’s GitHub or AzDevOps repository on your computer (your local repo). Choose Select Folder.
The folder for your local repo should have the same name as the project’s GitHub/ AzDevOps repo you cloned, for example: azfundedu.
-
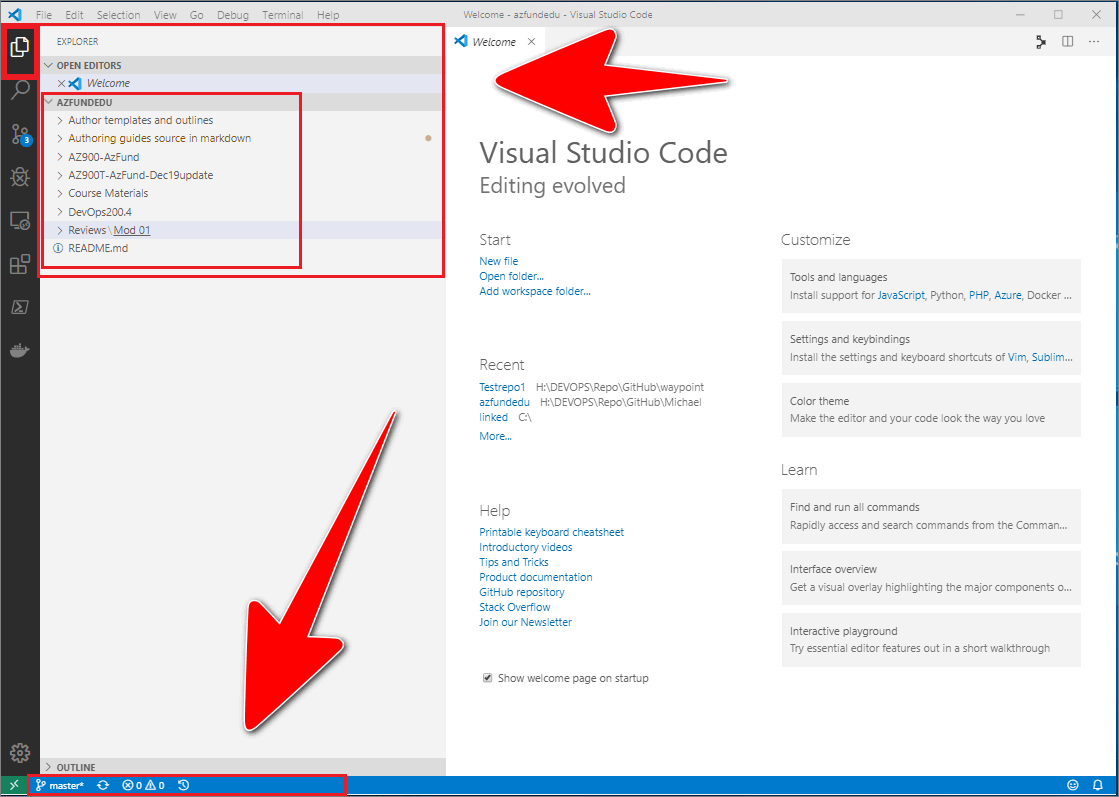
Select the VSC Explorer icon (left sidebar).
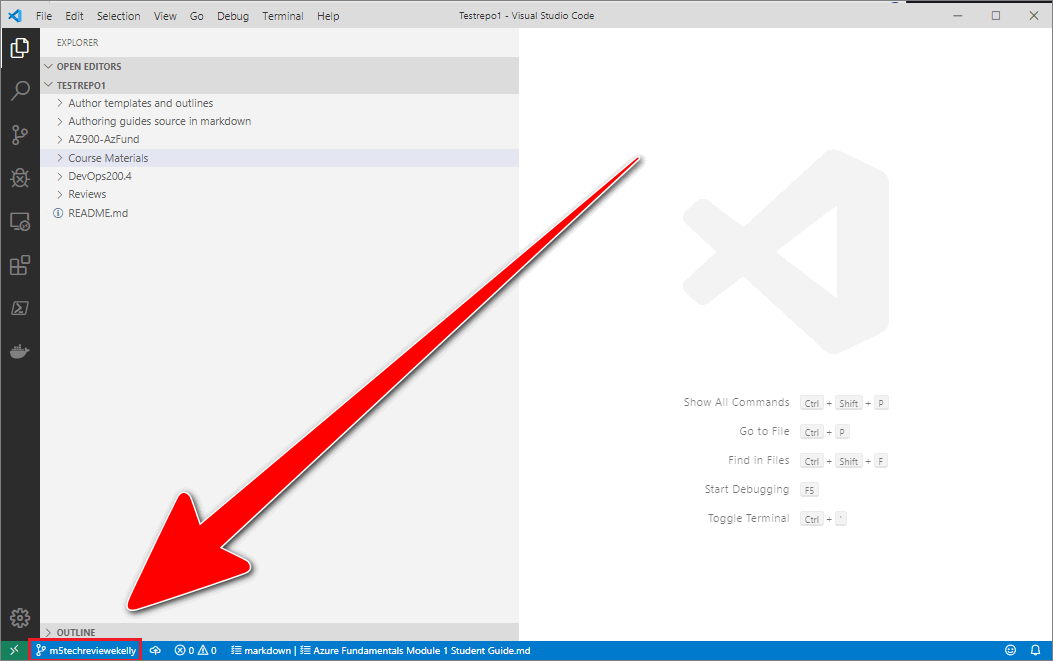
Your local repo’s folder and file structure should be visible in the VSC explorer window. The VSC status bar, at the bottom of the editor, indicates the name of branch that VSC is currently switched to.
For example, in the following image, the master branch is shown in the VSC status bar. Switching VSC to a different branch is described in the guide Switch branch.
Note: VSC opens in the same state it was in when you last closed it. Always check which branch, folders and files VSC is switched to. If you closed VSC previously using the
Xicon, without closing the folder in VSC, VSC may be switched to the wrong branch. You must ensure that VSC is switched to the correct branch to avoid inadvertently overwriting your files. The VSC status bar, at the bottom of the editor, indicates the name of branch that VSC is currently switched to. -
Go to View > Command Palette and type git branch. From the resulting list of commands, choose
Git Create Branch From....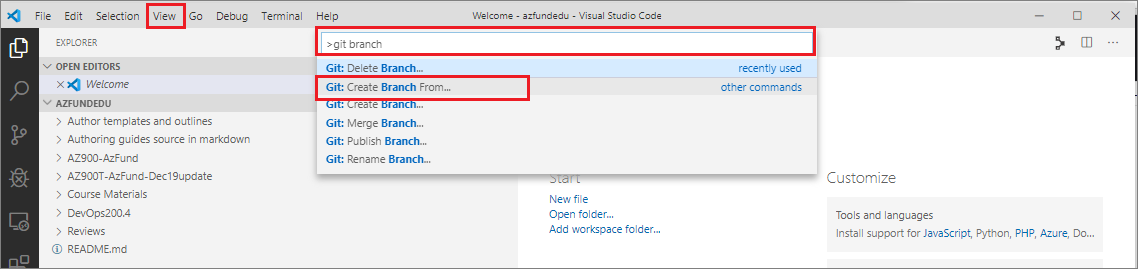
Note: There is another command called
Git Create Branch. Do not use this command, doing so will base your new branch on whatever branch is listed in the VSC status bar. Select the correct commandGit Create Branch From...instead. -
In the subsequent pane, enter a name for the branch you’re creating, and then press Enter.
The name of your new branch must conform to the branch naming convention described in Branch naming conventions.
For example, in the following image, the new branch is named m5techreviewkelly.

-
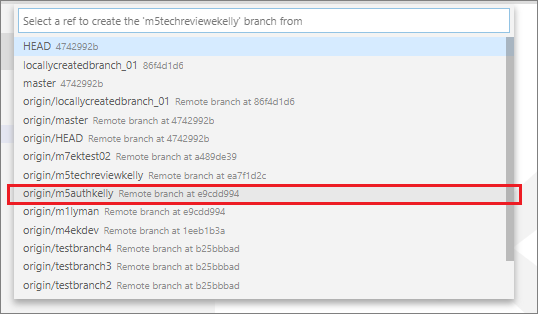
From the list of branches in the subsequent pane, select the branch that your new branch will be based on (i.e. set the base branch for your new branch).
For example, in the following image, the branch m5authekelly is selected as the base branch.
Note: If you are not prompted to choose a base branch, you may have selected the wrong command
Git Create Branch. Return to Step 4 and select the correct commandGit Create Branch From...instead. -
Your new branch should open in VSC. The VSC status bar will indicate that VSC has switched to the new branch you created.
Note: Your new branch is not on GitHub/ AzDevOps yet. Only you can access and see your new (local) branch, until you send your new branch to the project’s remote repo on GitHub/ AzeDevOps. To send (or push) your new branch to the remote repo, refer to Upload (push) your changes. Pushing your branch to the remote repo will ensure that your new branch is present on GitHub/ AzDevOps, backed up, and visible to other contributors.
You’ve created a new branch using VSC successfully.
Branch naming conventions
Generally, each contributor (author, reviewer, etc.) must work in their own branch. A separate branch for each module is also required. This approach keeps the content separated per contributor, at each stage in the process, and on a module by module basis.
A new branch is usually created from the master branch of the project’s remote repo. When you create a new branch, your branch name should describe your branch’s content, and make the branch’s purpose and owner clear to other contributors.
Use the following branch naming convention (all lower case) to name your new branch:
m <module number> <task> <contributor's surname>:
- The prefix
mis for “module”. <module number>refers to the module number that the file you are working on belongs to.<task>is a short code for the stage in the process the file is at. The task short codes are listed in the next section.- Add your
<surname>as a suffix to distinguish your work from the work of other contributors.
Examples of branch names are provided in Example branch names.
Task short codes
Use the following task short codes in your branch name to indicate the stage in the process that the file you are working on is at.
| Role | Process stage | Task short code |
|---|---|---|
| Author | Content authoring | auth |
| Reviewer | Instructional design review | idreview |
| Reviewer | Technical review | techreview |
| Reviewer | Academic review | acadreview |
| Editor | Copy editing | copyedit |
| Prepublication stylist | Prepublication styling and formatting | prepub |
Example branch names
The following are examples of branch names that conform to the branch naming convention, with descriptions of how the branch names are constructed.
Example authoring branch name
The following explains how the example authoring branch name m6authlee is constructed.
mis an abbreviation for “module”.6is the number of the module that the file belongs to.authis a short code for “content authoring”.leeis a reference to the author’s surname.
Putting the previous items together results in the authoring branch name m6authlee.
Example CE reviewer’s branch name
The following explains how the example reviewer branch name m6-cereview-lee is constructed.
mis an abbreviation for “module”.6is the number of the module that the file(s) for review belong(s) to.cereviewis a short code for “content editing review”.leeis a reference to the reviewer’s surname.
Putting the previous items together results in the reviewer branch name m6-cereview-lee.
Appendices
Check the following supplementary Appendices for more details and context.