Switch branches in VSC
This guide describes how to switch from one Git branch to another branch using the Visual Studio Code (VSC) editor.
Prerequisites
Before you proceed complete the following:
- Install Visual Studio Code
- Install Docs Authoring Pack
- Install Word Count extension
- Install Pull Requests extension
- Install Azure Repos extension
- Install Git client
- Set Git credentials
- Terminology and concepts
- General project workflow
- Download course files (clone repo)
- Project branching policies
- Create new branch in VSC
Topics in this guide
Switch between branches in VSC
-
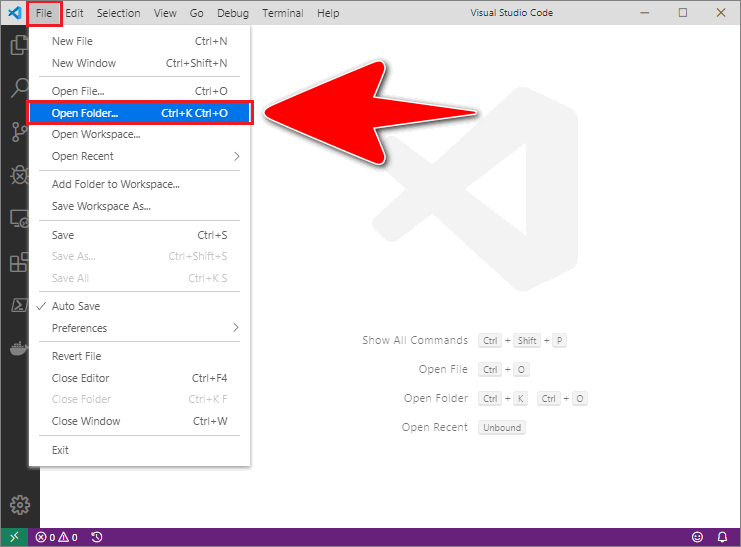
Open VSC and go to File > Open Folder.
-
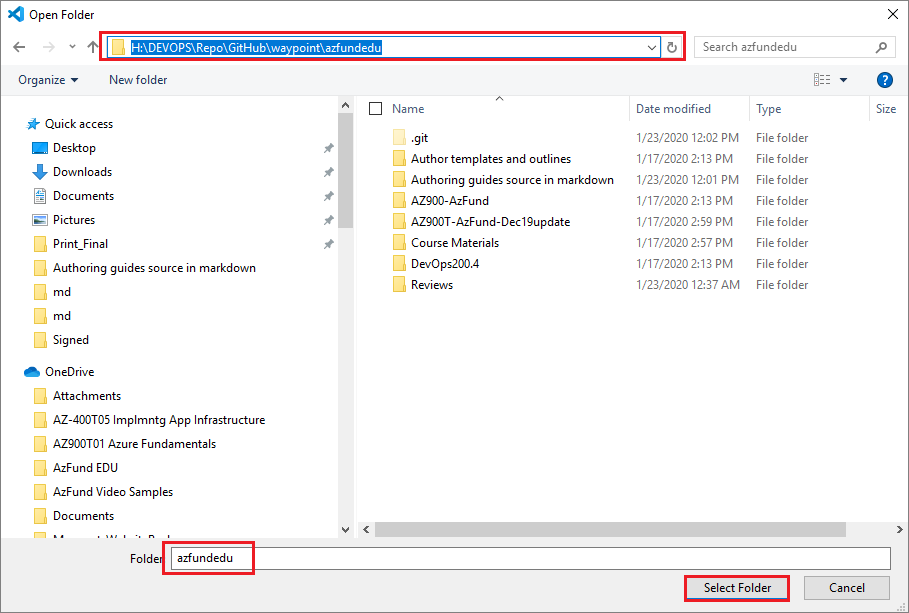
Go to the location on your computer where you cloned the GitHub/ AzDevOps repository (repo), and choose Select Folder (your local repo). The folder name for the local repo should be the same name as the project’s GitHub/ AzDevOps repo, for example: azfundedu.
 .
. -
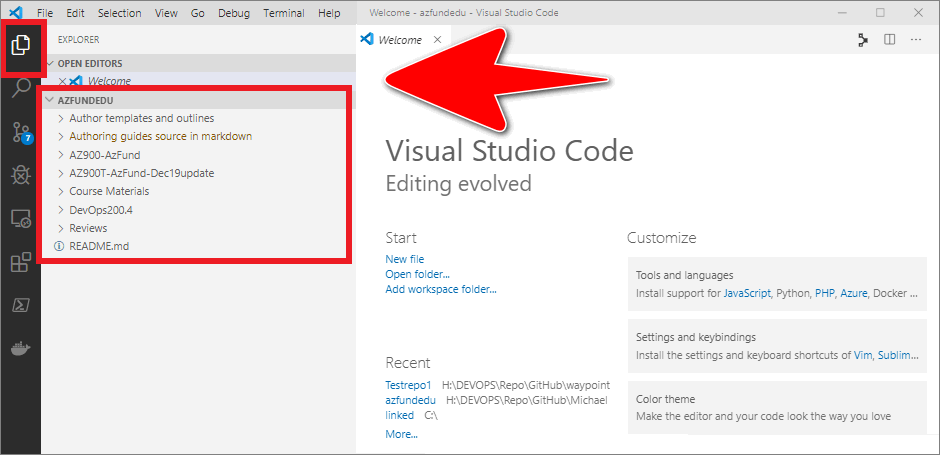
Select the VSC Explorer icon (left sidebar).
Your local repo’s folders and files should accessible be from the VSC Explorer pane (left side).
-
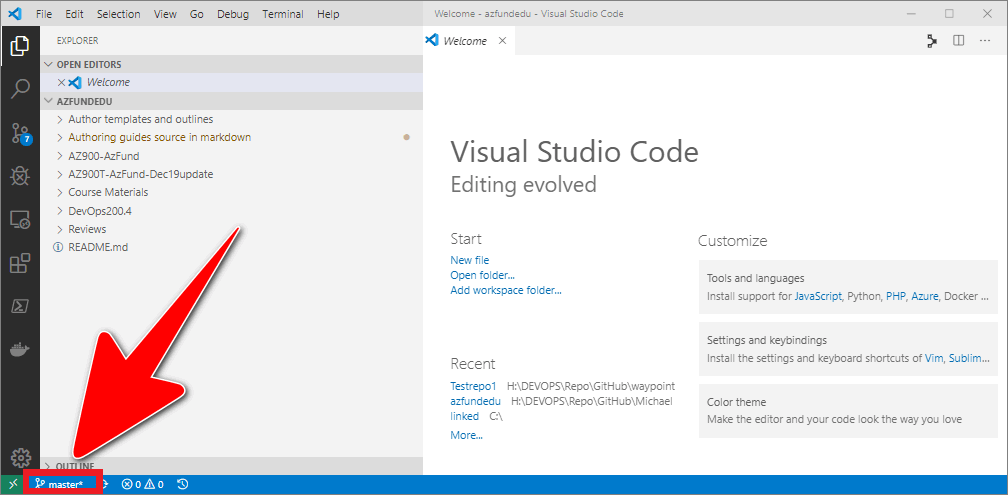
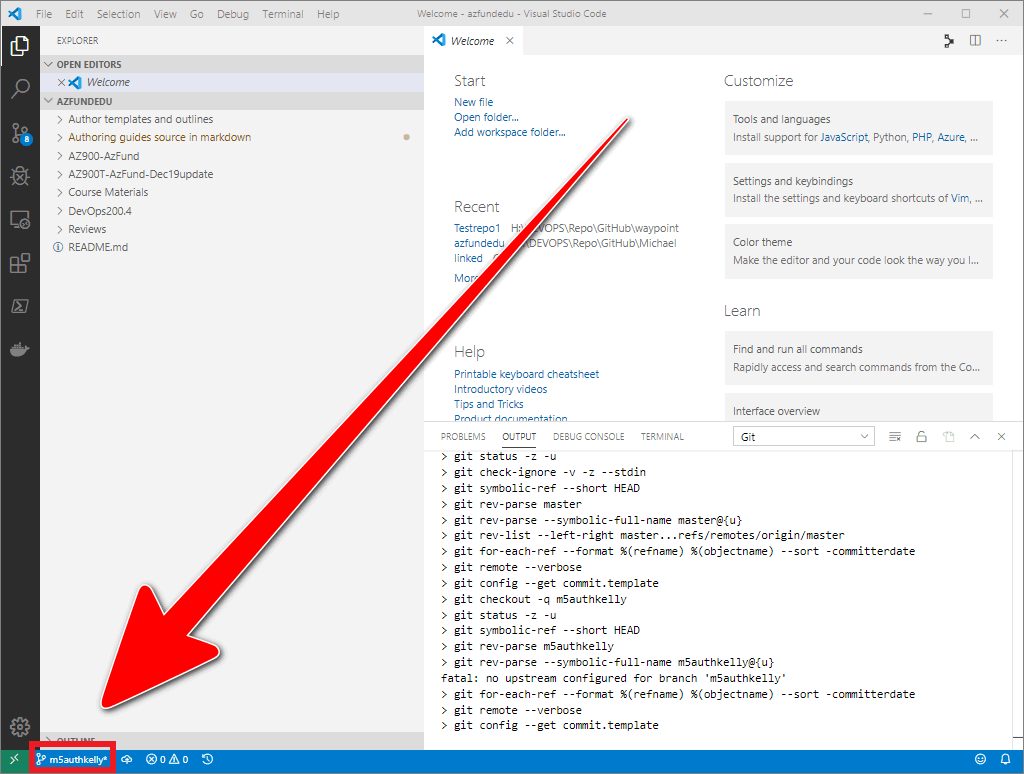
The VSC status bar, at the bottom of the VSC editor, indicates which branch VSC is currently switched to. Select the branch name from the VSC status bar.
For example, in the following image, the master branch is shown in the VSC status bar.
Note: When you relaunch VSC, VSC opens on the last branch it was switched to when you closed VSC. This remains true until you explicitly switch VSC to a different branch.
-
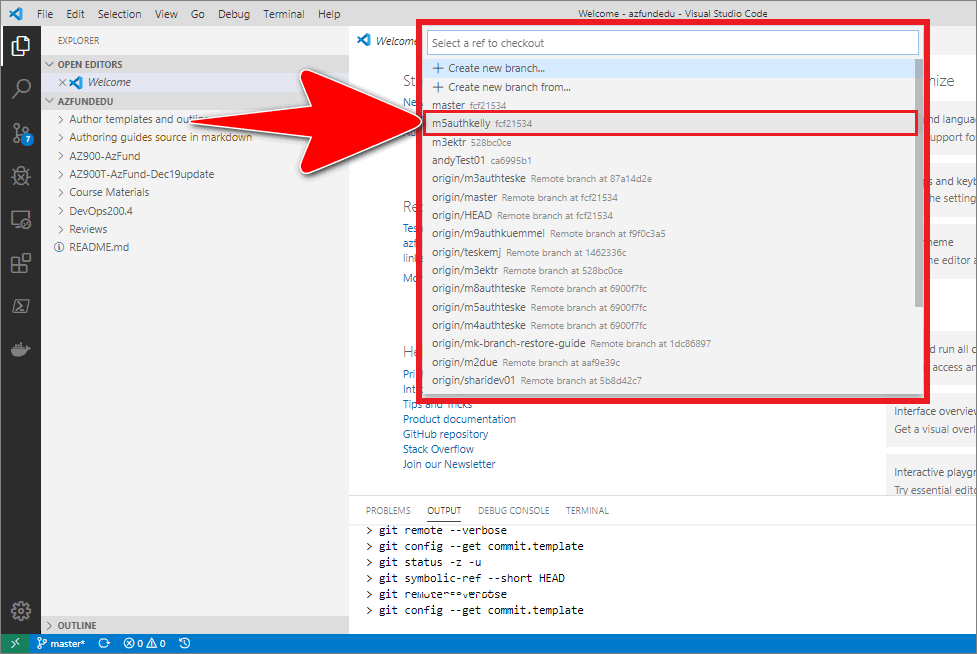
When the VSC branch pane opens, note the list of available branches. Choose the branch you want, for example: m5authkelly.
-
VSC will switch to your chosen branch (as indicated in the VSC status bar). Any changes you make will be applied to the files on your chosen branch. To select another branch, repeat Step 4 and 5.
You’ve switched from one Git branch to another branch using VSC successfully.
Appendices
Check the following supplementary Appendices for more details and context.